Introduction
How to Cap off a CPVC Water Pipe? Are you looking for a simple and effective way to cap off a CPVC water pipe? Whether you’re working on a plumbing project or need to temporarily close off a water line, capping off a CPVC water pipe is a straightforward process that can be done with ease. In this guide, we will walk you through the steps required to cap off a CPVC water pipe, ensuring a secure and watertight seal. So, let’s get started!
1. Gather the Necessary Tools and Materials
Before you begin capping off your CPVC water pipe, it’s important to gather all the tools and materials you’ll need for the job. Here’s a list of items you’ll require:
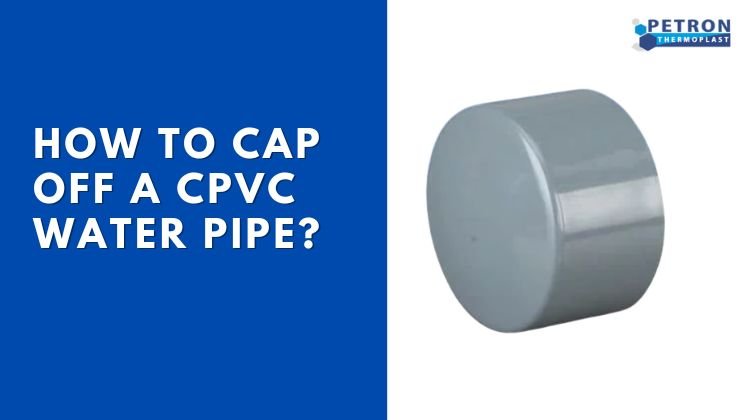
- CPVC end cap
- CPVC primer
- CPVC cement
- Sandpaper or a deburring tool
- Measuring tape
- Clean cloth
- Safety gloves
Make sure you have all these items readily available before proceeding to the next steps.
2. Prepare the CPVC Pipe
To ensure a proper seal, it’s essential to prepare the CPVC pipe before attaching the end cap. Follow these steps to prepare the pipe:
a. Measure and mark:
Use a measuring tape to determine the correct length of the pipe you want to cap off. Make a clear and precise mark on the pipe at the desired location.
b. Cut the pipe:
Using a CPVC pipe cutter, carefully cut the pipe at the marked location. Ensure a clean and straight cut for a better seal.
c. Deburr the edges:
Use sandpaper or a deburring tool to remove any rough edges or burrs from the cut end of the pipe. This will help ensure a smooth and even surface for the cap to attach to.
3. Apply CPVC Primer
Applying CPVC primer is an important step in the capping process as it prepares the pipe for the cement and enhances the bonding strength. Here’s how to do it:
a. Put on safety gloves:
Before handling any chemicals, protect your hands by wearing safety gloves.
b. Clean the pipe:
Use a clean cloth to wipe the end of the CPVC pipe and remove any dust or debris. Ensure that the surface is clean and dry before proceeding.
c. Apply the primer:
Apply a generous coat of CPVC primer to the exposed end of the pipe. Be sure to cover the entire area evenly. Allow the primer to dry completely as per the manufacturer’s instructions.
4. Apply CPVC Cement
Once the primer has dried, it’s time to apply CPVC cement, which will create a strong bond between the pipe and the end cap. Follow these steps:
a. Check the cap:
Inspect the CPVC end cap for any defects or damage. Ensure it is the correct size and fits snugly over the pipe.
b. Apply cement to the cap:
Apply a layer of CPVC cement to the inside of the end cap. Spread the cement evenly, ensuring that it covers the entire inner surface.
c. Attach the cap:
Immediately after applying the cement, carefully slide the end cap over the prepared end of the CPVC pipe. Push the cap firmly and hold it in place for a few seconds to allow the cement to bond.
d. Final check:
Double-check that the cap is securely attached and aligned with the pipe. Wipe off any excess cement using a clean cloth.
5. Let the Cap Set
After attaching the cap, it’s crucial to allow sufficient time for the cement to set. Follow the manufacturer’s instructions for the recommended setting time, usually around 15-30 minutes. Avoid applying any pressure or stress on the capped-off section during this period.
6. Test for Leaks
Once the cement has fully set, it’s time to test for any potential leaks. Turn on the water supply and carefully inspect the capped-off section for any signs of water leakage. If you notice any leaks, immediately shut off the water supply and recheck the cap for a proper seal. If required, repeat the capping process using a new CPVC end cap.
Conclusion
Capping off a CPVC water pipe is a straightforward process that can be accomplished with a few simple steps. By following the guidelines outlined in this guide, you can cap off your CPVC water pipe effectively, ensuring a secure and watertight seal. Remember to gather all the necessary tools and materials, prepare the pipe, apply the primer and cement, and allow sufficient time for the cap to set. With a little patience and attention to detail, you’ll successfully cap off your CPVC water pipe and complete your plumbing project with confidence.


